Tuesday, June 25, 2013

Ballasting Part 1

To me, the most daunting part of the construction of the layout has been the ballasting.  This week I decided to face my 'Sword of Damocles' and take a stab at ballasting Carstenbahn One.  I initially purchased some paint and painted the styrofoam roadbed.  Fear not, friends, it wasn't nearly as orange as the camera makes it out to be!

 So the plan was to lay the track, add ballast, and then spray the whole thing with matte medium to hold the whole shebang in place.  Well, I decided to try a different method, one I eluded to in an earlier post, and one that served me well in H.O. scale, namely slopping on large amounts of paint, pressing the track into the wet paint, and simply spreading the ballast across everything.  Then, after the paint has dried, vacuuming up the excess ballast and only having ballast between the ties and around the track.

The ballast I used is called poultry grit, or chicken grit.  A 25lb bag can be found at Tractor Supply Company for $9, and I will probably need 3-4 bags for the entire layout.  This is probably the cheapest ballasting material you can find, and look very realistic, too.

I started by making a couple of test cases, both with the brown paint and also a batch of dark gray paint I also had plenty of:


I used the same technique as I have described - press the track into the wet paint, add ballast, wait for the paint to dry, and vacuum away the excess.  It's hard to tell in the pictures, but there really is a difference in color based on the base.  Of the 3 people who looked at the samples, all three agreed that the dark paint was the better choice.  So last night, with the help of my mother (bless her for her enthusiasm on this project!), we tackled the first half of the main line...


This is how the roadbed looks when the Styrofoam has been painted, the track has been laid, and ballast has been spread over everything.  In some cases, the track kept pulling up from the paint, and I had to weight the track down to keep it firmly pressed into the paint.  In the future I will have very narrow screws at the ready to screw down any track that tried to pull up.


Here is a picture of the outer-to-inner-track crossover under ballast.  As you can see, I have taped up the switch at the mechanism to avoid getting ballast trapped in the 'throat' of the switch.  I will know soon enough if it worked.  FYI the ballast in the lower picture is still a little damp, which is why it is a darker shade.

I plan to vacuum away the excess ballast in a couple of days and will post about the results, including some better pictures.
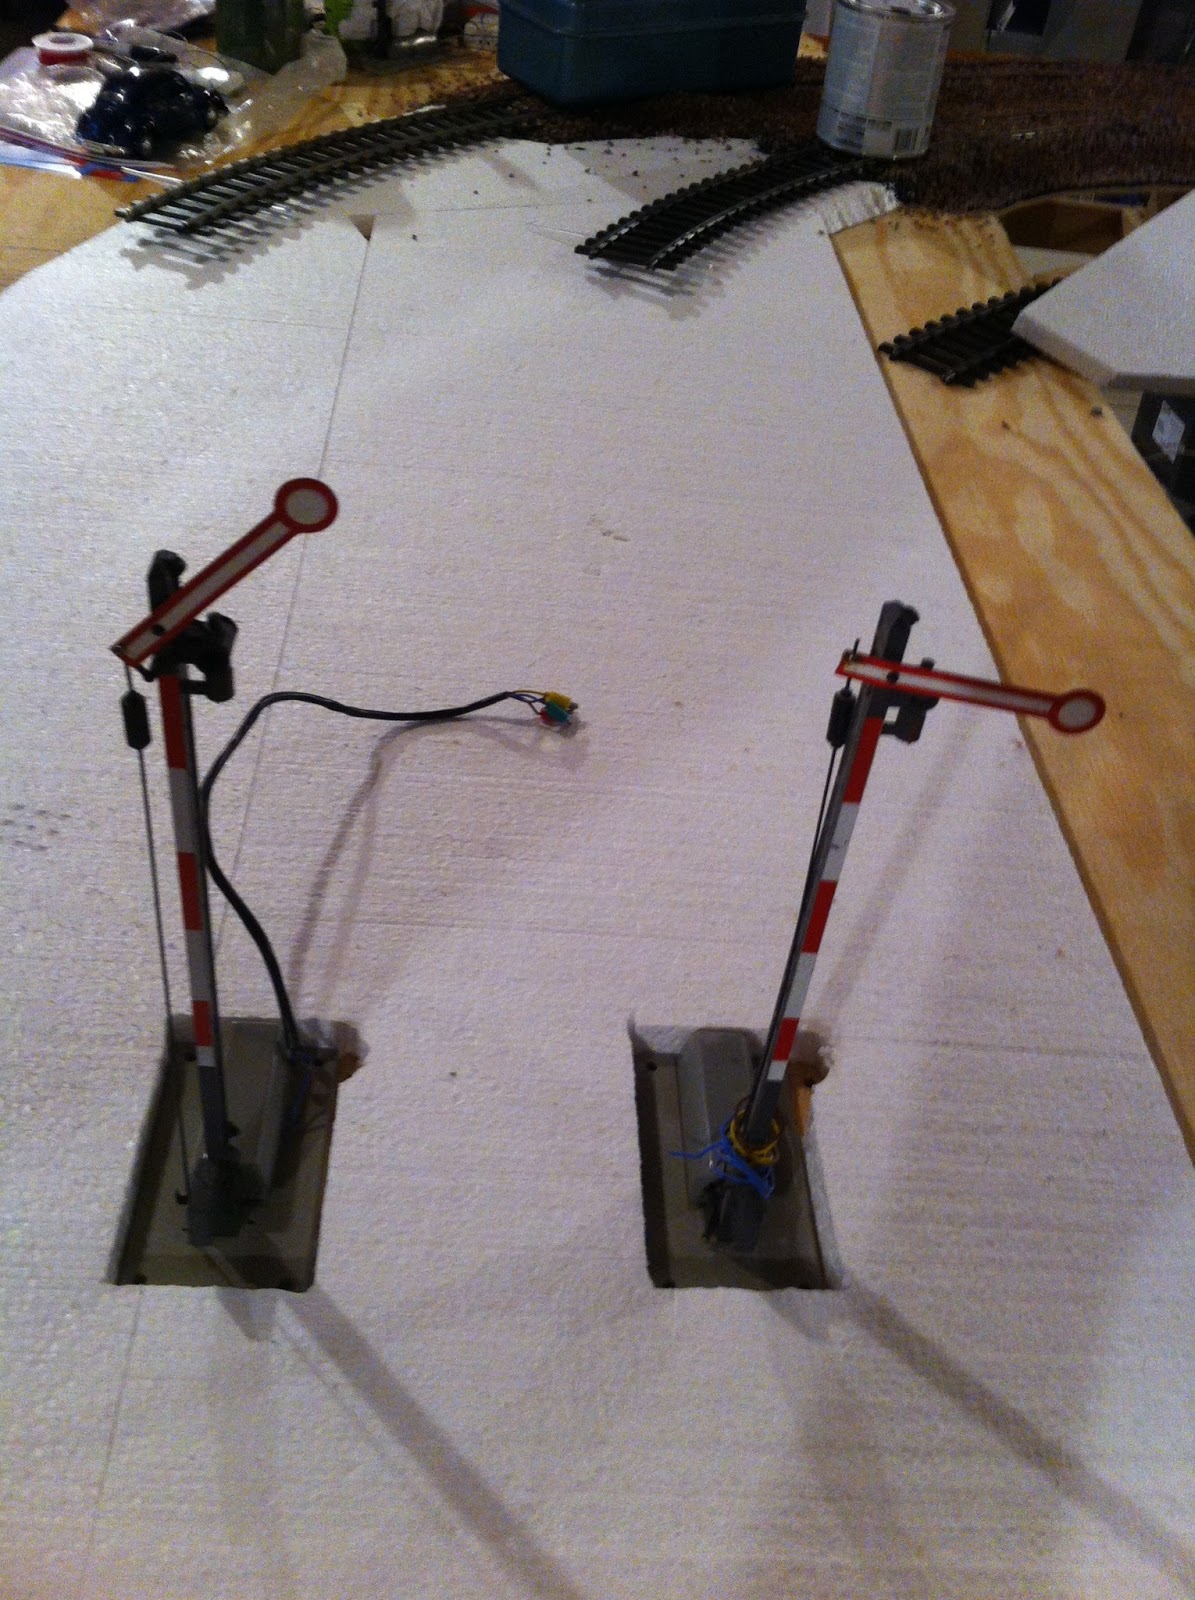
One last picture:  Here is the end of the station area, where I have cut out the Styrofoam to sink the signal mechanisms a little,  I believe this will look much better than having the large Marklin solenoids sticking up behind the signals...

Stay tuned for the ballasting finale!!

Friday, May 31, 2013

Roadbed for the Nebenbahn and some wiring gets done...

Hey all,

There has been more activity on Carstenbahn One thanks to rainy days and an attack of gout, which kept me indoors for much of the past two weeks.

I added some wood underneath the Koenigstein branch line, and have been able to run some trains up the hill.  The grade is quite manageable, and even a longer freight train can make it to the top with little difficulty.


I also started some of the wiring of the layout.  I learned about a 'bare copper' wiring technique from Tim Eckert of Eckert Engineering fame via a project he did for a client in California.  The idea is to run bare copper wires for all your power needs, then tap off those wherever you need juice.  Here are some photos of the design:


Sorry this image isn't sharp, but as you can see, there are three copper wires passing through eyelets and making their way around the layout.


In the image above you can see one end of the wires.  I used eyelets at the end, wrapped the wires around themselves, and ran some solder onto the twisted wires to hold them together.  FYI you don't want to make a loop on your power circuit.  Not sure why, but that's what I've been told...

Here's the other end of the wiring system near the control panel.  There are adjustable eyelets on this end to allow me to set and maintain decent tension.  Note the tabs of yellow, brown and red electrical tape.  These tabs, which are placed every few feet, remind me which wires carry which type of power.  Yellow is accessory power, red is digital track power, and brown is ground.  In the image above you can also see the dabs of solder that hold the wires together where they are twisted.

Thursday, May 16, 2013

Opinion time!

There is a website for 1-scalers that provides frequent updates on new products, train shows, etc. that I visit about once a week.  It's www.spur1info.com, and even if you don't read a lot of German, the site owner takes excellent pictures and provides lots of updates on what's happening in the (mostly European) 1-scale community.  A recent post showed the following picture from a recent train show:
photo courtesy of www.spur1info.com

The article's author mentioned that he thought the layout shown in the image above was, well, "meh".  He's right. The structures shown are all commercially available kits, the trees only remotely resemble the real thing, the curves are too tight to be realistic, the rolling stock (and the crane) aren't weathered, the grass looks like it was spray painted, and the locomotive service facility is comically small and simple.

But I love this photo, and I am trying to understand why.

I think it speaks to the diversity of the hobby of model railroading, and how different model railroaders approach it.  Coming from an H.O.background, I found my enjoyment in watching trains proceed through scenery, and I replicated that in miniature as these pictures from my H.O. layout show:


So you can imagine how I feel when I see layouts like this:


Building a layout that ends within inches of the edge of the track roadbed is not the kind of layout I would ever want to build.  Now, 1-scale is a different creature, and the hillside that I built in H.O. shown in the first picture of my H.O. layout would be about four feet tall in 1-scale, and wouldn't fit in my SUV, so it's not a surprise that you don't see a lot of those on portable layouts like the Württemberg team's or the Wuppertal club's layout (above).  But I would never have any interest in those two layouts simply because the detail of the rolling stock, or the attention to trackside details like weathering the track and the bumpers, and replacing the plastic with real wood like the bumper on the right, have little appeal to me compared to seeing trains, in any scale, making their way through scenery.  And that even goes for scenery that may not be the most realistic.

So thank you, Marklin, for what is a decidedly pathetic layout that first introduced me to the possibilities of building something grandiose back in 2001 that caught my eye at the Modellbahnmesse.  If it hadn't been for this layout, one that makes even the picture at the top of this post look impressive, I may never have fallen in love with the King's Gauge...


- Carsten

Wednesday, April 17, 2013

A question of grades...

With the elevated Koenigstein tables in place, it was time to start work on the secondary line running up to them.  It didn't take long before I realized that, based on the way I designed the 'nebenbahn', the grade up to Koenigstein would be over 8%.  By comparison, the Höllental line in the Black Forest, one of the steepest grades for a 'normal' railway line, is 5.5%.  

Yup, more track plan changes.

I decided to re-run the grade up to Koenigstein along the main line around the long edge of the layout.


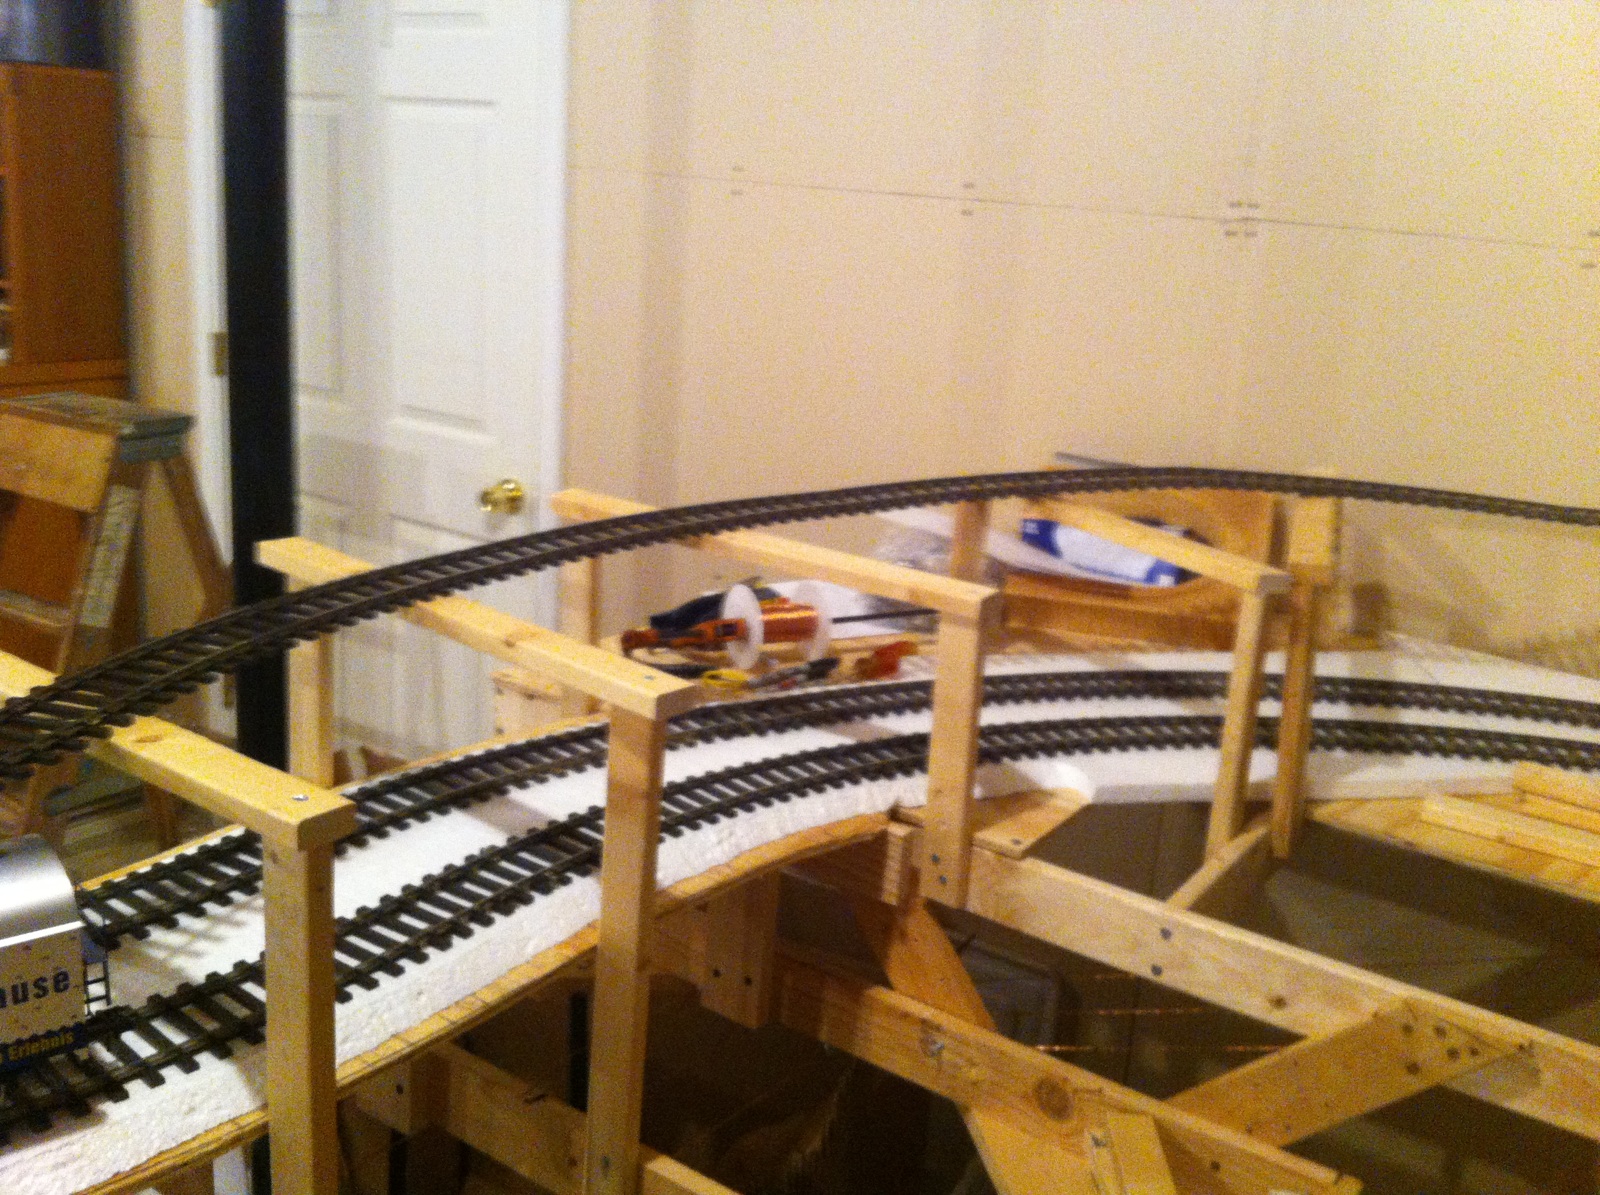
You can see the track to the right of the main line sitting up on risers (no roadbed yet) winding its way towards the back of the layout.  It gets very close to the main line at one point, so this will be an interesting scenicking challenge.


As it reaches the level of Koenigstein, it has to cross the main line in order to make the turn.  Originally I had planned to have a bridge at this point, but it now looks like the main line will have to be in a tunnel for a greater period of time.

Here you can see the array of supports I built for the branch line as it crosses over the main line.  Of course, there will be plywood under the branch line track...


Finally, here's a picture I took of the 'northwest' corner of the layout.  There will be a small freight depot at this point (which was the case in Koenigstein before the freight depot was torn down in the 90's), behind which will rise the tall hill with the Koenigstein castle on top.


Here's an image I found on-line looking towards the 'west' from the platform at Koenigstein showing the castle on top of the hill.  This is what (hopefully) will be behind the freight depot in the previous picture.

Tuesday, April 16, 2013

Koenigstein takes shape

Hey everyone,

After a couple of weeks of no activity, I'm happy to report that I have gotten my butt in gear and have finished the elevated section that will house the Koenigstein station area, the terminus of the branch line.  It's a sizable station, with a usable platform length of over seven feet.  Here is how it looks from the inside of the layout:

 
Observant readers of this blog will notice that there is no longer a switch for the branch line up to Koenigstein.  That's because it has been moved.  But that's a story for another entry...

Friday, March 22, 2013

Fixing the staging yard

Hey all,

Those of you who have been following the Carstenbahn One adventure know that my only regret in the track plan is the short length of the siding in the staging yard / shadow station.  Well, after some fumbling around with track I was able to remedy the situation.
Here you can see how I moved the switch from the end of the curve to the beginning, adding a couple of feet to the overall length of the siding.  Because of space constraints I'm not able to do the same thing on the other side, but at least I have increased the useable length of trains parked in the siding from 7 cars to 11 cars.

Finally, here's a quick snapshot of the two steam locomotives ready to head out...
Enjoy your weekend, all!

Monday, February 25, 2013

A new way of cleaning / dusting your model trains...

Hey all,

A few weeks ago a member of the Digitrax group on Yahoo posted about using a special product called Cyber Clean to clean his dusty and / or dirty model trains.  I think any modeler can relate to the difficulty of trying to clean intricate and detailed models with a cloth or a feather duster.  Well, I picked up a jar for about $7 on eBay, and it showed up last week.  On Sunday I decided to give it a try...

Here is the product in question.  It's a 5-oz jar, about the same size as a Play-dough jar.
The material is a 'putty', similar to the stuff kids play with called 'slime'.  The idea is to press this material onto the item you are trying to clean, and then pull it off again.  Dirt and dust is supposed to stick to the Cyber Clean and your item is supposed to come out shiny as new without a lot of time and labor.

The locomotive I chose to use is a Marklin BR55.  I have been using this loco throughout the construction of Carstenbahn One, so it has experienced its fair share of dust.

Yes, a perfect candidate!

The material is a little firmer than I had expected.  If you are dealing with a model with a lot of very small added parts or fragile lines, this may not be the best solution, as you do need to give it some pressure to push it into the tightest spots.  In any event, I would recommend that you do not force the material into all the cracks and crevices, but hold it gently but firmly against the model, and let the material slowly ooze its way into the details.
So here is the rear section of the boiler after about five minutes' work.  Compare this with the 'before' image and you can see the dramatic difference.

I also tackled the tender.  The imitation coal on the back would be an excellent test, since it's a BEAR to try and clean with a cloth, and this product seems perfect for it.
Again, here is the 'before' shot.  As you can see, short of pulling the body off the chassis and putting it in the dishwasher, it would be very hard to get this clean.
Instead, a quick five minutes with Cyber Clean and the tender looks much, much better.

Cyber Clean has some of the same issues with getting into corners and creases that one would encounter with a rag, and it does absolutely nothing for any serious dirt or stains.  However, to get the dust out of the tight spots on only semi-fragile models, it works well.  It did a nice job on my BR55, and I look forward to using it on my dusty Neuffen station building I've had out of the box for close to twelve years.

For the paltry sum of $7 including shipping, it's worth having this handy product around.